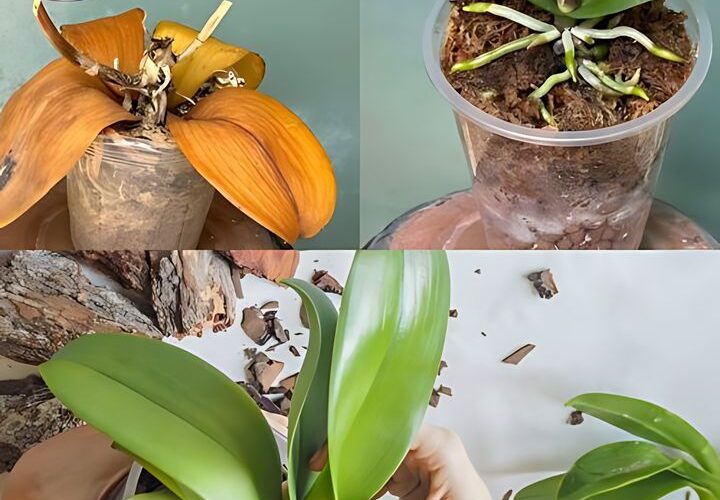
Necessary materials
Orchid Substrate Mixture or Orchid Bark
Clear Orchid Pot or Container with Drainage Holes
Warm water
Orchid fertilizer (optional)
spray bottle
Humidity tray or stones (optional)
Step by Step Guide
1.Evaluate the Condition of the Orchid
Check the Roots: Look for dry, soft or firm roots. Healthy roots are usually green or white with silver tips.
Inspect Leaves: Look for signs of dehydration (wrinkled leaves) or sunburn (yellow or brown spots).
2.Water and Rehydrate
Immersion Method: If very dehydrated, submerge the entire pot in warm water for 10-15 minutes to allow the roots to absorb water.
Drain Well: Remove the orchid from the water, making sure the excess drains completely from the pot or tray.
3.Transplant (if necessary)
Evaluate the Pot: If the roots are rotting or the substrate is decomposed, repot.
Remove the Orchid Carefully: Trim dead roots with sterilized scissors. Use potting mix or orchid bark in a clear pot to monitor light and roots.
4.Provide Light and Temperature
Indirect Light: Place in a location with bright, indirect light; Avoid direct sunlight, especially at midday.
Maintain Temperature: Keep it between 18-24°C (65-75°F) during the day and slightly cooler at night.
5.Humidity and Humidity
Humidity Tray: Place the pot on a tray with stones and water to increase humidity without saturating the roots.
Spray: Lightly mist the leaves; avoid flowers to prevent waterlogging.
6.Fertilize (if necessary)
Choosing Fertilizer: Dilute a balanced orchid fertilizer and apply it every 2-4 weeks during growth.
Avoid Excess: Prevents damage to the roots due to excessive fertilization.
7.Monitor and Adjust Care
Observe Growth: Check for the appearance of new roots and firm leaves in the coming weeks.
Adjust the Routine: Adjust watering according to the orchid’s response; reduces in winter or during dormancy.
8.Patience and Persistence
Be Patient: Recovery takes time; constant and careful care is key.
Enjoy the Process: Appreciate the beauty of the orchid as it recovers and thrives again.