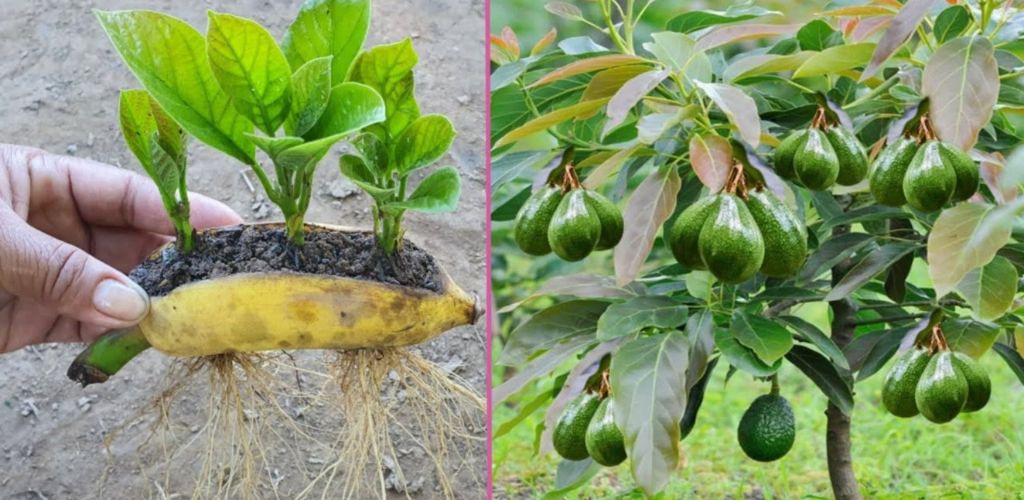
How to grow an avocado pit in stages
Obviously, the first step to growing an avocado tree as a beautiful houseplant is to obtain the avocado pit. So the next time you make guacamole or cut up an avocado for a salad, don’t throw away the pits. At best, we will try to germinate several seeds (collected over time) to optimize our chances of success. It is true that how to grow an avocado pit is not a very complex question, but it requires time and patience. So here are the steps to follow:
Remove and clean the core.
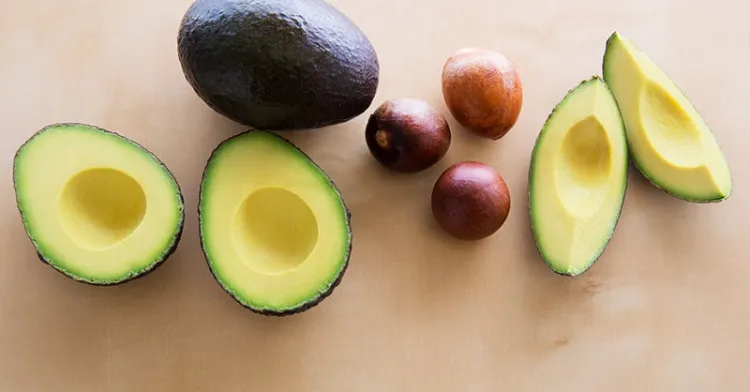
Start by carefully removing the pit from the avocado cutting the fruit in half without damaging the seed. Then, clean it of all the remains of the meat. If it is difficult, soak the core in water for a few minutes before scrubbing it. Be careful not to remove the brown skin from the pit, it is the seed coat.
Determine “high” and “low”
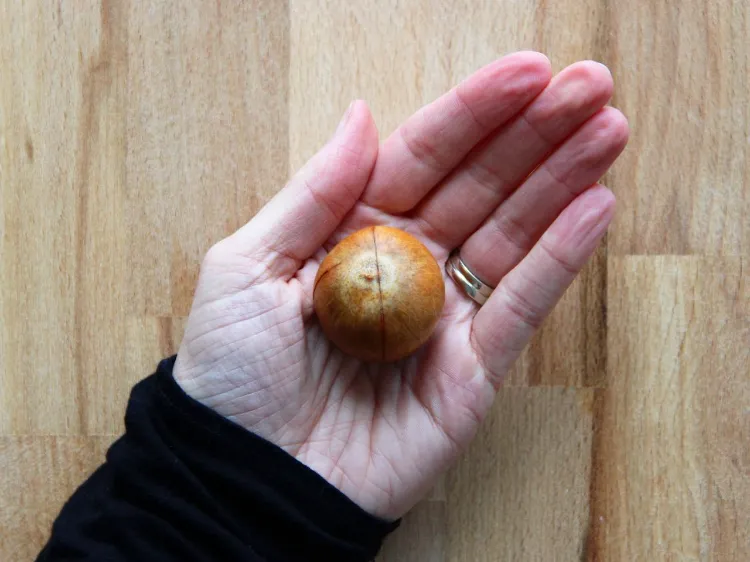
Some avocado pits are ellipsoidal and pointed, while others are shaped like almost perfect spheres. This can make it difficult to determine its “butt” (where the roots will grow from) and its “top.” However, this step is essential to growing an avocado pit as it should. Typically, the slightly more pointed end is the top and the flat or rounded end is the bottom.
Pierce with toothpicks
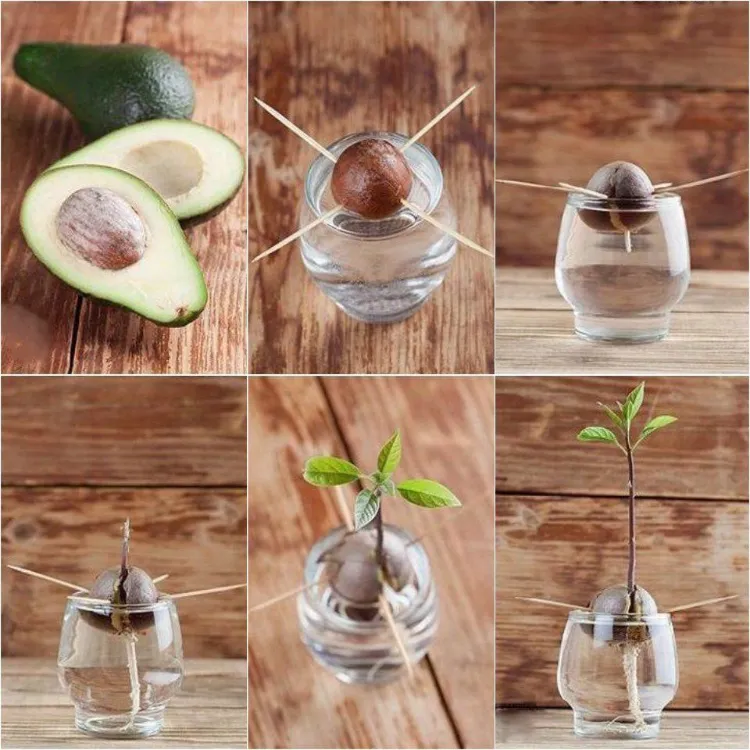
Take three or four toothpicks and insert them at a slight downward angle into the avocado pit, spacing them at equal intervals around its circumference. These chopsticks represent a type of scaffolding that will allow you to place the lower half of the core in the water while keeping the tip dry. Therefore, they must be firmly inserted.
Half dive into the water

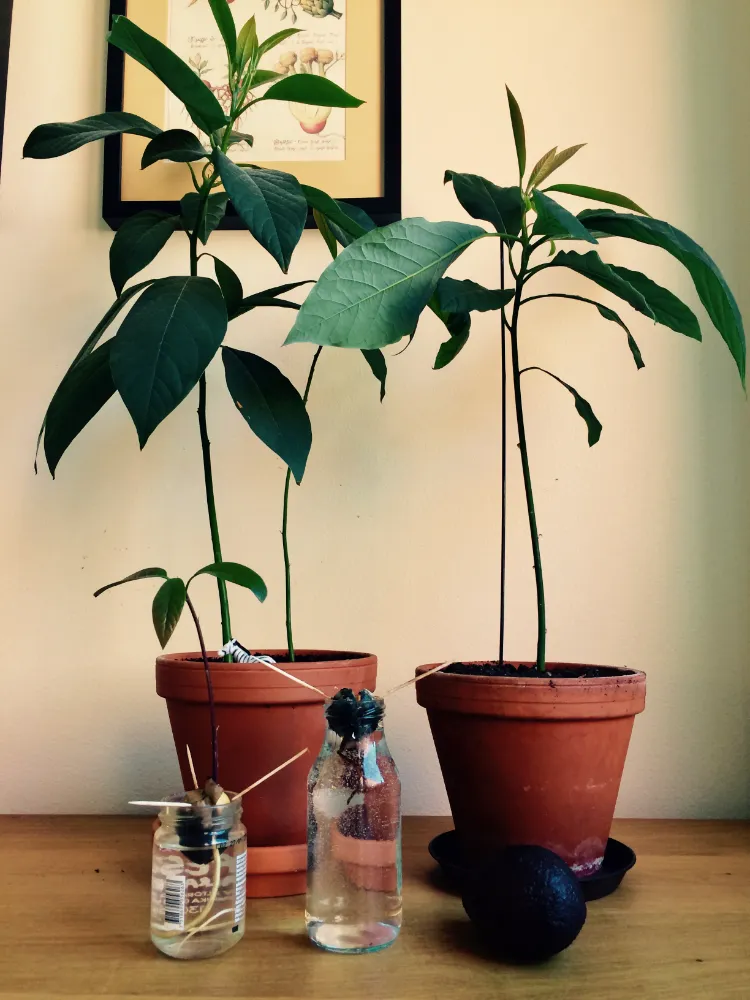
Once the core is punctured, try throwing it over the top of a glass or jar filled with water. It is best to use a clear container to check root growth and know when it is time to change the water*. As mentioned above, the bottom of the nugget should be moist, while the top should be dry. Place your glass jar on the inside windowsill of a sunny window.
*You should change the water regularly to prevent the growth of mold, bacteria and fungus that can kill its delicate young growth. You don’t need to do this every day, but rather every five days to a week or so.
Wait for the seed to sprout
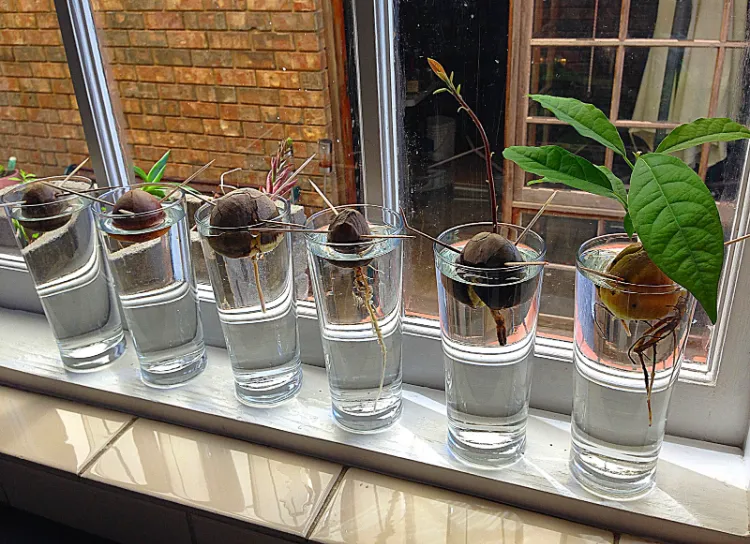
Frankly, the next step in our “How to Grow an Avocado Pit” worksheet is the easiest and hardest at the same time – you just have to wait (while you change the water). Many guides say that germination takes two to four weeks, but in our experience, the process usually takes up to eight weeks or even longer. So be patient and this is what you will witness:

– the top of the avocado pit will dry out and crack
– the outer brown skin will peel off
– the crack will extend to the bottom of the pit where a small taproot will form**
– the root will always grow longer and may branch when a small shoot will appear through the top of your avocado pit
**Keep root submerged at all times and never let it dry out
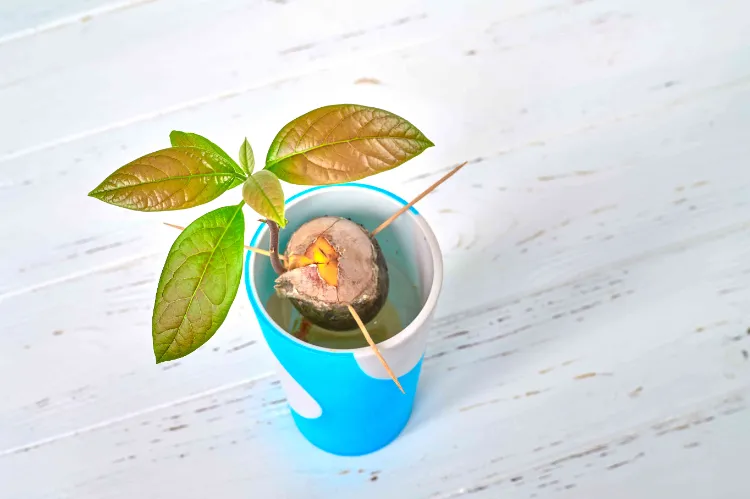
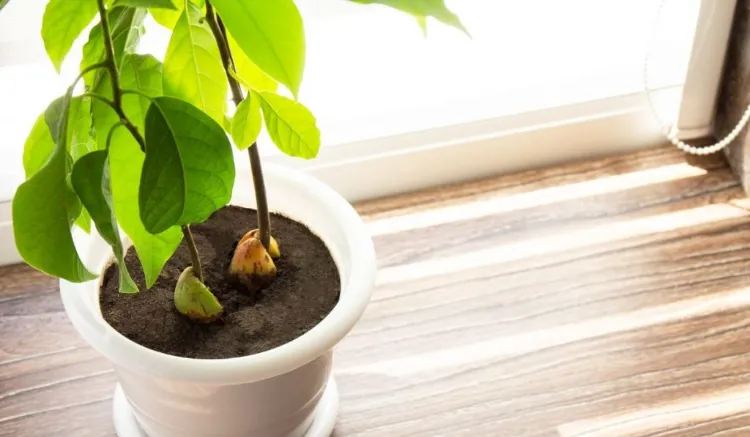
Congratulations: you now know how to grow an avocado pit! But when is it time to transfer the young plant to a pot? When the stem reaches about 15cm, cut it in half, which will encourage new growth. When it grows back to 15cm, transplant it into humus-rich soil in a 25cm diameter pot, leaving the top of the seed exposed.
How to care for your potted avocado tree?
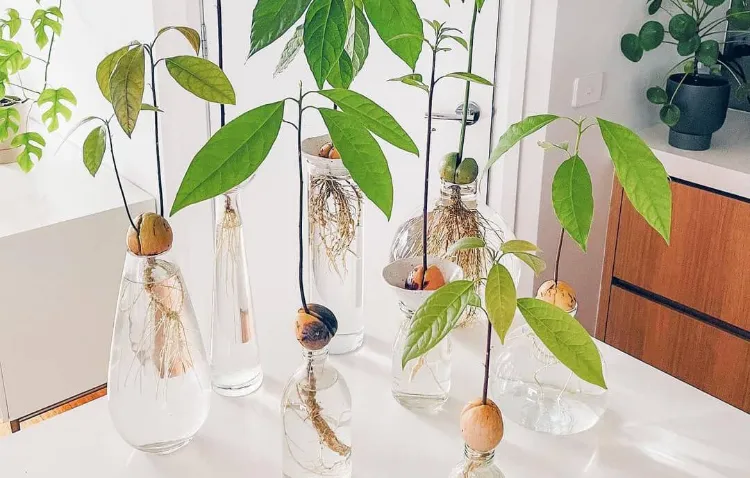
Having mastered how to grow an avocado pit, what are the correct steps to care for it? Place your young avocado tree on a windowsill in full sun, as these plants require plenty of light and warmth. So the more sun, the better. Water regularly to keep the soil moist, but not soggy. Stop watering and let the soil dry out in case of yellowing leaves (indicating overwatering).
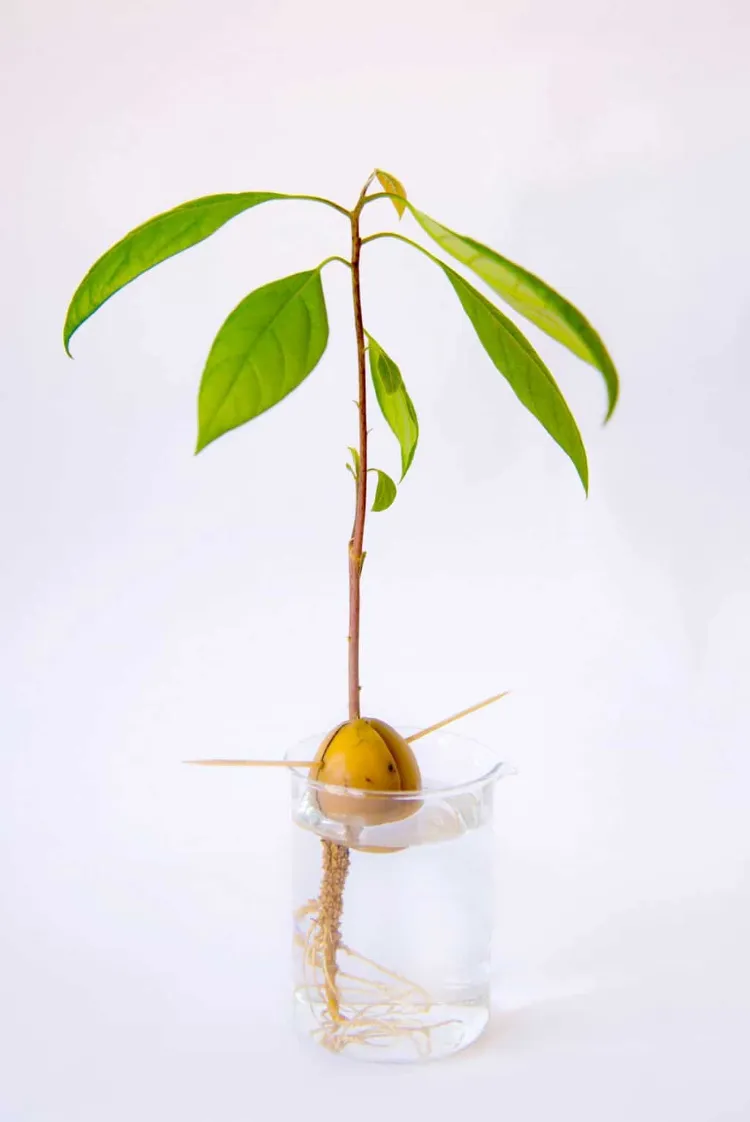
When your avocado tree reaches about 30cm tall, pinch off its top two leaves. This will encourage the plant to develop side shoots and more leaves, making it look very bushy. Do the same for every 15cm of new growth.
Here’s how to grow an avocado pit at home!