Sometimes we think that old scissors no longer have a solution, but with a little ingenuity and simple tools, it is possible to bring them back to the edge and leave them as good as new. This homemade method not only improves its yield, but also lengthens its shelf life.
Disassembly and deep cleaning
The first step is to completely disassemble the scissors. With the help of a suitable tool, the nut and the central screw are removed, separating both blades.
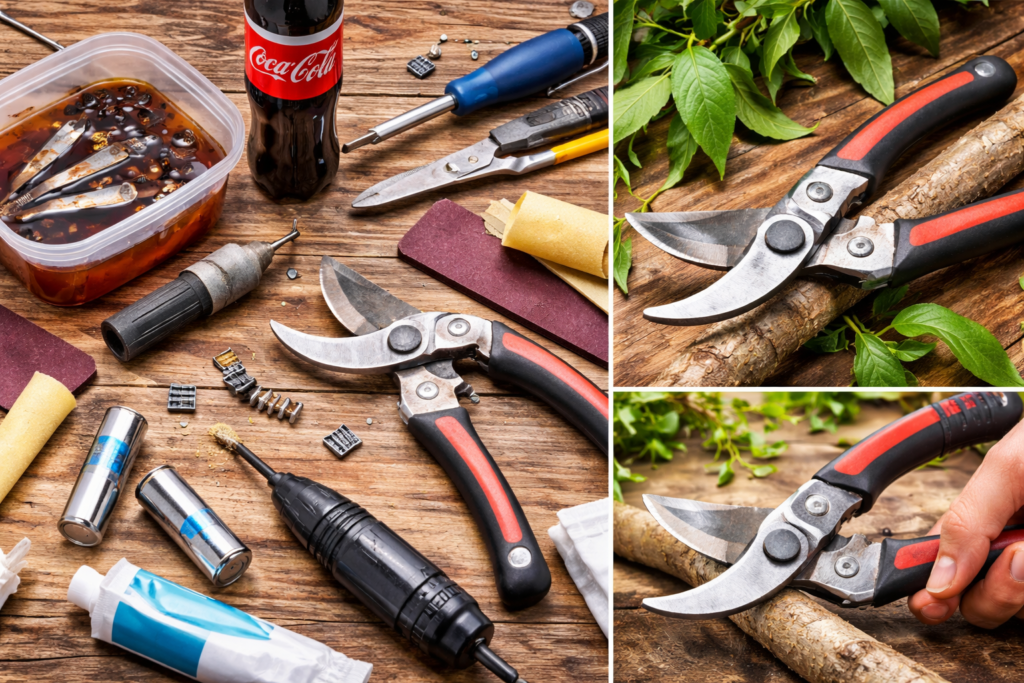
Then, all the pieces (blades, screw, nut and spring) are placed in a container with cola. This liquid helps loosen dirt, rust, and accumulated debris. With a spoon, you can better remove the adhered debris.
After a few minutes, the pieces are removed and carefully cleaned.
Rust and dirt removal
With sandpaper, all the remaining dirt is removed from each piece: blades, screws, nuts and spring.
Once sanded, they dry completely with paper to avoid moisture.
Preparing a homemade sharpening tool
A strip of sandpaper is taken and cut into equal parts. Then, it is wound into a small metal cylinder (it can be a thin iron), forming a kind of sanding accessory.
This accessory can be placed on a small drill to rotate it and make the sharpening job easier.
Sharpening process
With the drill running, the scissor blade is brought closer and the edge of the cutting edge is carefully sanded. It is important to do this with gentle and controlled movements.
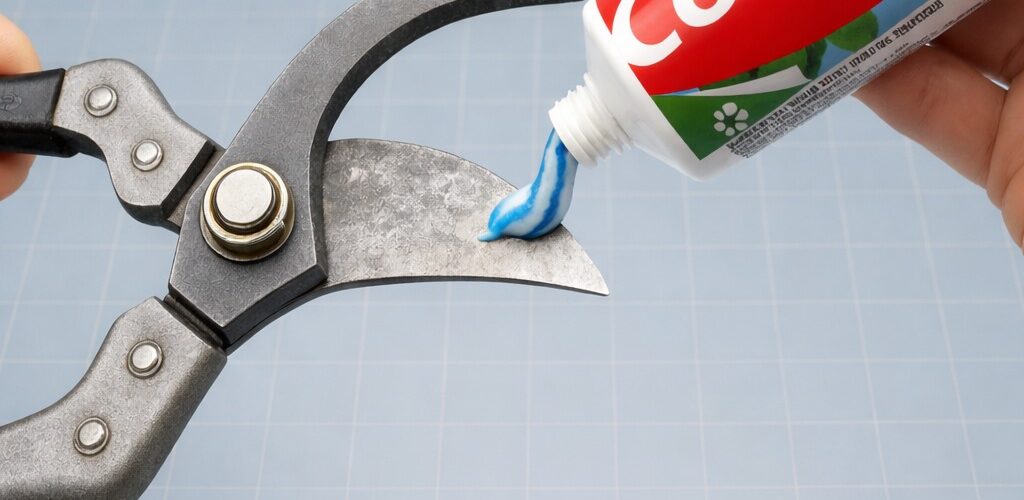
Then, a little toothpaste is applied to the cutting edge. Using a metal piece (such as the inside of a battery), the edge is polished, further improving the finish.
Finally, everything is cleaned with a damp cloth to remove residue.
Assembling and final test
Once all the parts have been cleaned and sharpened, the scissors are reassembled, adjusting the screw and nut correctly.
The result is surprising: the scissors regain their cutting capacity, allowing them to cut branches easily, as if they were new.
Tips and recommendations
- Always disassemble the tool carefully so you don’t lose small parts.
- Wear gloves to avoid cuts during the process.
- Do not apply too much pressure when sanding, this can damage the edge.
- Lightly lubricate the screw when assembling for better operation.
- Repeat maintenance from time to time to preserve the sharpness.
For a better understanding of this content, we invite you to watch the following video from the Creative Inventions channel:
With this simple and economical method, you can recover gardening shears without having to buy new ones, achieving an effective and long-lasting result with materials you have at home.