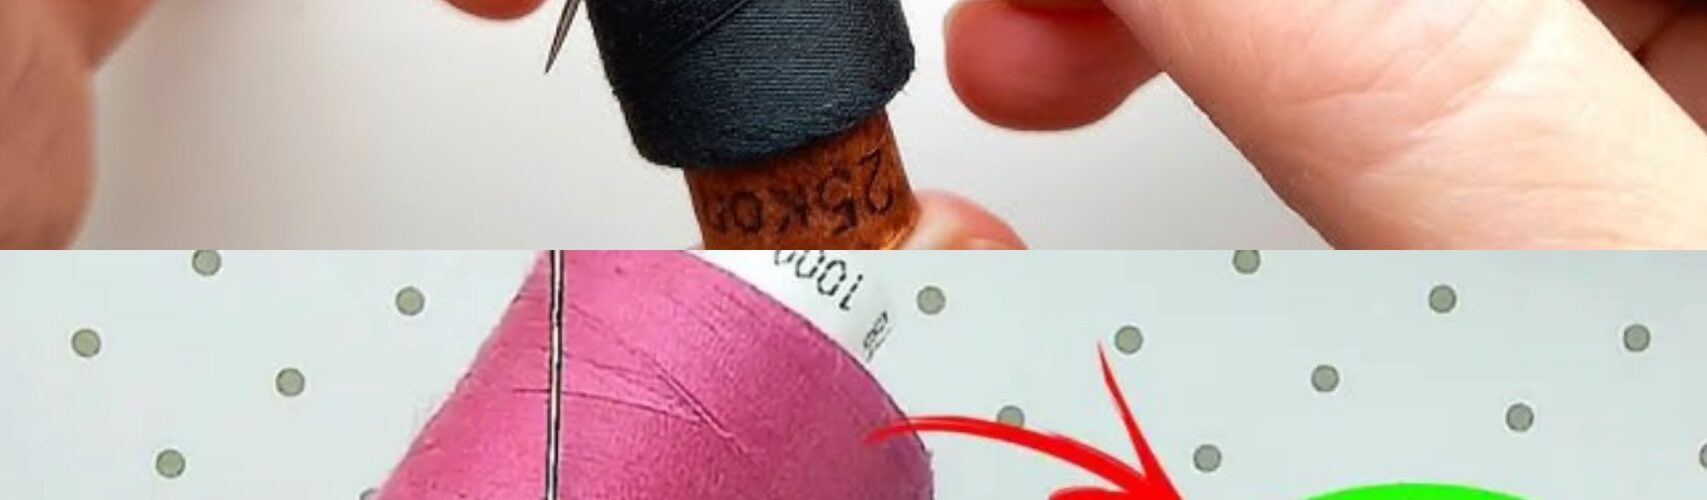
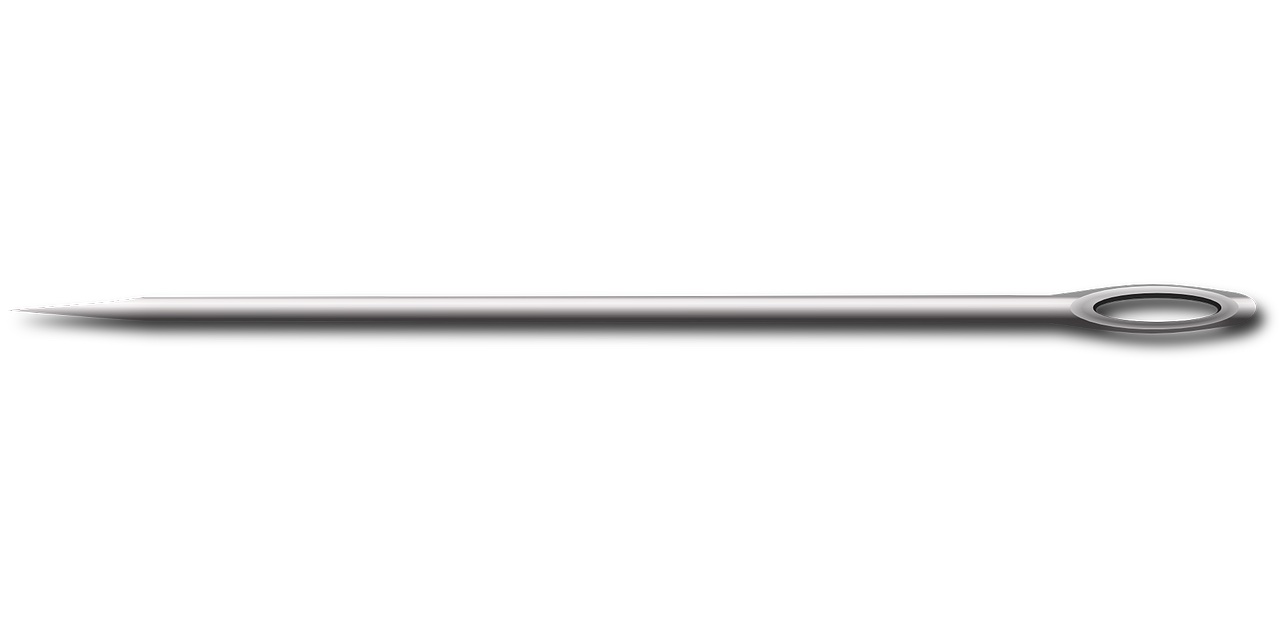
A practical guide for you to build your own original needle threader!
Our grandmothers knew one more than the devil! Out of necessity they had to make virtues, so they had much fewer comforts than today. Accustomed to having threaders that can be bought in haberdasheries, we have lost a little the ability to get ahead.
A method to have your own needle threader
However, it is enough to go back to the old folklore to discover a truly effective and economical method . This is provided that you already have the few elements necessary to carry out the work available. This can be a good idea to practice with your young children, if you have any. At a young age, they love to create things with their little hands.
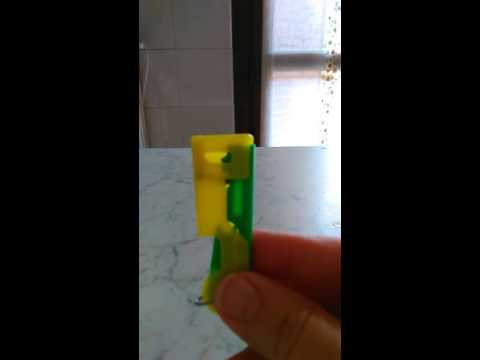
In addition to being useful, the idea allows you to spend some time together. Unfortunately, we spend less and less time between work and school. A simple signal will allow you to relate. Obviously, to make the needle threader with the children, we cordially invite you to carefully follow each step. Overwhelmed with enthusiasm, in fact, they risk being stung if you don’t remain attentive to the situation.
As the word itself says, needle threaders help to thread the sewing thread . We use it perhaps because we don’t see each other much, but mostly because of the rush. In four and four eight you’ll figure it out here.
The method that we are going to illustrate now requires very few materials, namely:
- a thin steel wire;
- a bottle cap;
- a scissors (or a cutter);
- a little glue (optional).
Take the cap from the bottle and cut the crown with scissors (or a cutter). Cut a small piece of steel wire (fine gauge) and make a grommet. After that, place it in the slot of the lid you just made, with the eye facing out.

Maybe put some glue on it to keep everything in place. Then insert the buttonhole into the eye of the needle and the sewing thread – that’s it! The needle will thread in the blink of an eye. You can store the accessory obtained in your sewing box, along with the other tools of the trade.