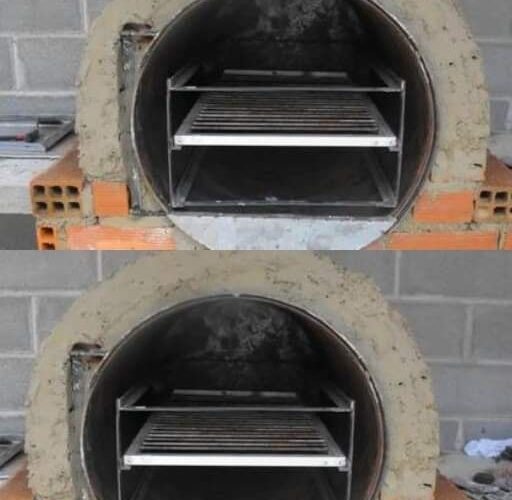
The drum oven is an excellent option for cooking our food as it allows us to save energy and we can use its continuous heat throughout the day to obtain very tasty and healthy meals. We leave you these instructions so that you can make your own drum oven at home.
We start by marking the base of the kiln on the ground, which will be 1.25 x 1.25 m, placing threads and stakes as a guide. We assemble the base with bricks (we will have a perimeter of 18 bricks) and moisten them with water so that they do not dry out the mixture. The ideal is to join with mud or adobe, but we can also use cement. Once the base is ready, measure 12 cm on each side and begin to place the first row of bricks, so that we have a 1 x 1.10 m oven and 30 cm in the center for the ashtray. It should look like this:
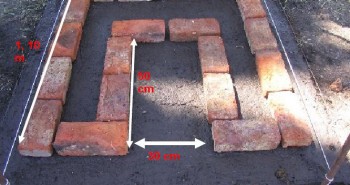
We place mud in the joints and make two more rows of bricks, always respecting the level and plumb line and joining the joints well. On the base of the center, 30 x 50 cm, place the grill for the ashtray and fill the rest with debris. The grill must have the stoker door frame welded at one end (we make it approximately 30 x 30, using L-iron). On this frame we will place the door, which we can make with sheets and place it with hinges. For the lintel, we cut a 13 x 70 cm sheet and weld it to the frame.
Then we continued climbing 5 more rows of bricks. We must take care to place the brick fitting into the angle of the door, which forms the L-iron of the frame. Behind the ashtray line, place the bricks on a plane inclined to the front, to be able to remove the ash, and cover with mud.
For the inner part of the oven, place the bricks 2.5 cm further inside in each row. The internal wall can be made with refractory bricks or mix chopped glass with clay. We close the row until it looks like this:
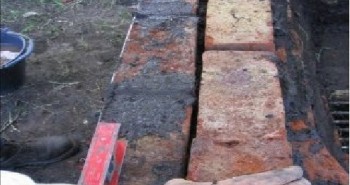
We finished the front of the oven, placing the eighth row on the lintel of the door, and plastered the walls. The next day, we placed a drum holder and a diffuser on top. For this we will use two ribbed irons of 1.20 m and 20 mm welded to a 40 x 70 sheet. The distance between the irons is about 20 cm, on these we will rest the drum horizontally.
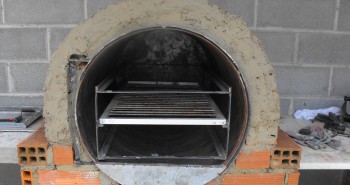
We must cut the lid of the drum and put hinges on it in such a way as to form a door with the same lid, to which we place a handle. Inside we weld L-iron making some brackets and guides for the trays. Then, we will need another old, larger drum, which we are going to cut and use to cover the outside of the drum. This will work as a support for the vault, there should be approximately 10 cm of span between the drum and the support. On this support we will also make a hole to place the tap pipe.
Then, we fill with mud and debris between the support and the row, and we lift rows of bricks until the vault closes from the top, without forgetting to place and seal the chimney. Using half bricks, fill the space between the drum and the support. Finally, we plaster the entire vault and paint with insulating material.
Dare to build your drum oven!