Has it ever happened to you that you need to write something important and your pen just doesn’t work? Before you throw it away, try these simple and free tricks to get your pen writing like new again.
These methods are quick, easy, and use materials that you probably have at home. You can repair your pen with ease. If you want to see how to do it, watch the following video made by Comida mágica:
How to repair a pen
Materials Needed
- Lighter or match: To warm the tip of the pen.
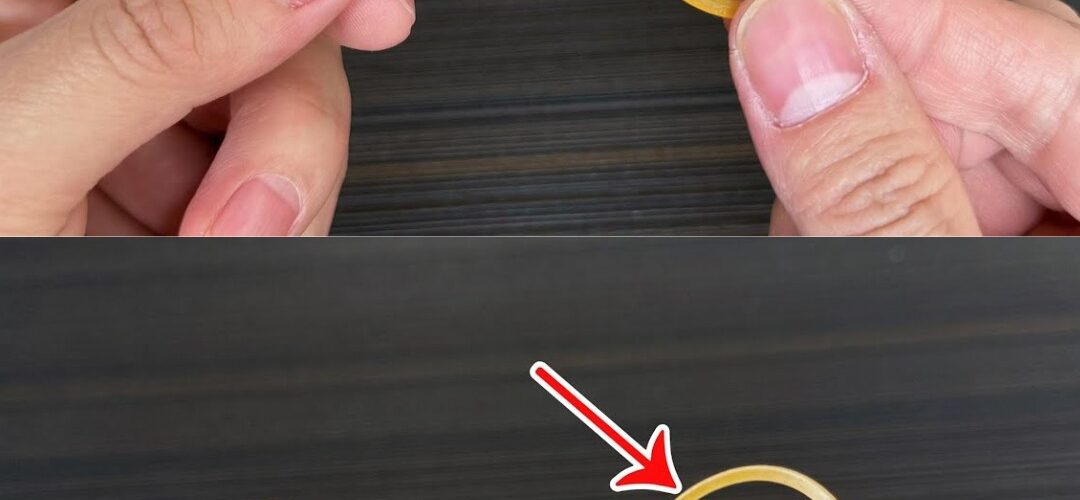
- Rubber Binder: Helps generate friction to reactivate the ink.
- Hot water: Improves ink fluidity.
- Oil or light lubricant (optional): To facilitate ink flow.
- Napkin or absorbent paper: To clean the pen and remove blockages.
Method 1: Use Heat
- Heat the tip of the pen with a lighter or match for a few seconds.
- Do not overheat: Keep the flame moving to avoid damaging the plastic.
- Try writing again. Heat improves ink fluidity.
Method 2: Use Friction
- Wrap a rubber band around the body of the pen.
- Quickly rotate the pen in circles for a few seconds.
- This creates friction, unlocking the dry ink and allowing it to flow.
Method 3: Soak in hot water
- Fill a container with hot water (40-50 °C).
- Dip the tip of the pen in for 5 minutes.
- Remove, dry with a napkin and try writing. This method softens the dry ink.
Method 4: Lubricate with Oil
- Place a drop of light oil on the tip of the pen.
- Leave it on for 1-2 minutes.
- Wipe off any excess oil, before using the pen.
Method 5: Use a napkin
- Draw lines on a napkin several times with the tip of the pen.
- The friction removes residue or dry ink, improving writing.
Additional Tips
- Check the ink: If the pen is empty, it’s time to replace it.
- Avoid damage: Don’t press too hard when typing to prevent blockages.
- Proper storage: Store pens upright with the tip down to keep the ink flowing.
With these tricks, you not only save money, but you also help the environment by avoiding unnecessary discarding pens. Give your pens a second chance, and keep writing without problems!