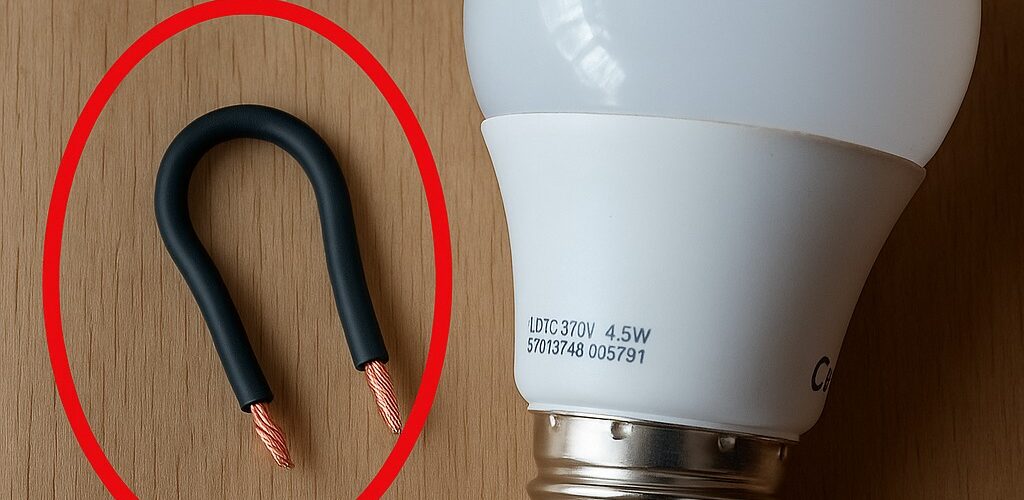
In many homes, an LED bulb that stops working often ends up in the trash. However, with basic knowledge and simple tools, it is possible to repair it and extend its useful life.
This guide, based on the experience of an electrician, teaches you step by step how to do it, avoiding unnecessary expenses and contributing to the care of the environment.
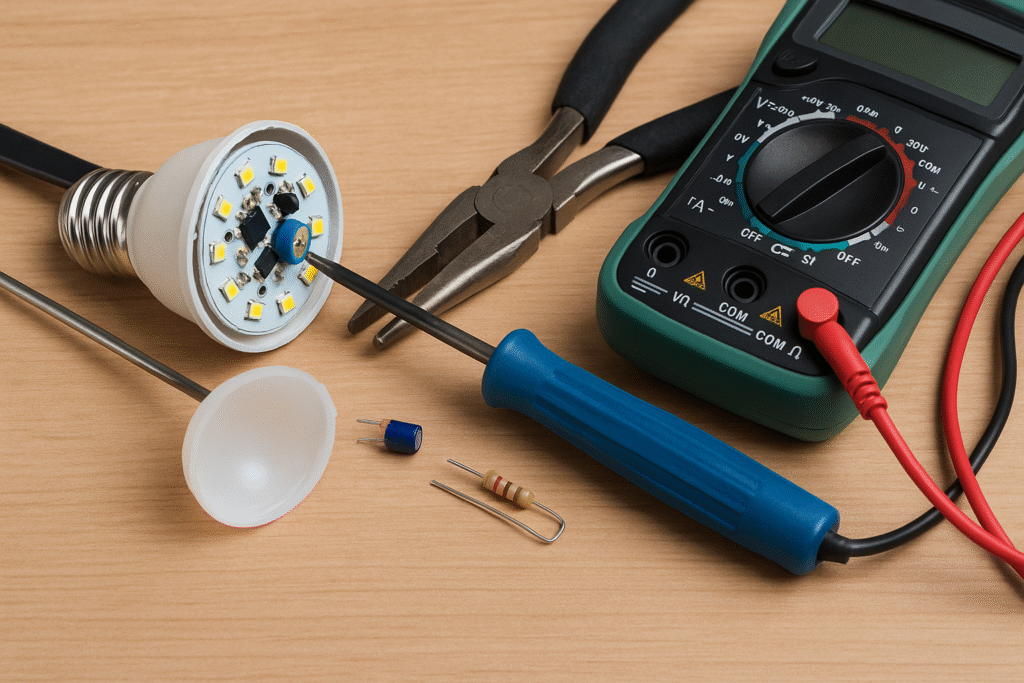
Materials Needed
- Flathead screwdriver or pliers
- Soldering iron and tin
- Multimeter (optional, but recommended)
- Capacitors, resistors, or other compatible spare parts
- Magnifier or good lighting to inspect components
- Safety gloves (optional)
Step 1: Open the bulb safely
LED bulbs have a cover that protects the internal components. This can be made of plastic or glass:
- Using a flathead screwdriver or pliers, carefully lift the lid.
- Don’t force too hard, as the cover is often held in place with clips that can easily break.
- Once opened, you will have direct access to the circuit board where the LEDs and controller are.
Step 2: Identify the components to be repaired
The most common faults are in the LED driver, a small circuit responsible for properly powering the LEDs. Look carefully at the following elements:
- Broken or desoldered cable: Can be reattached with the soldering iron.
- Swollen capacitor: Indicates that it no longer works and needs to be replaced.
- Burnt resistance: It usually looks dark or marked. It must be changed for one of the same characteristics.
If you have a multimeter, use it to measure voltage and check which component is interrupting the current.
Step 3: Replace Defective Components
Once the damaged component has been identified:
- Re-solder loose wires with caution.
- Replace damaged capacitors or resistors, making sure to respect their technical specifications.
- You can buy spare parts in e-shops or even recover components from other disused devices.
Step 4: Close and test the bulb
- Before closing the bulb, make sure that no wires touch metal parts or threads that could cause a short circuit.
- Replace the lid or cover securely.
- Plug in and test the bulb. If it lights up, you’ve managed to revive it properly.
Additional tips:
- Always work with the bulb disconnected from the mains.
- If you have no experience with soldering, you can practice on other circuits first before intervening on the bulb.
- Save useful components from old electronics. Many times they can be reused.
- Use a magnifying glass if the components are very small, to better detect faults.
Repairing an LED bulb may seem complicated, but with patience and attention to detail, it is a task within anyone’s reach. This practice not only reduces lighting costs, but also helps minimize e-waste.
A small action that can make a difference!