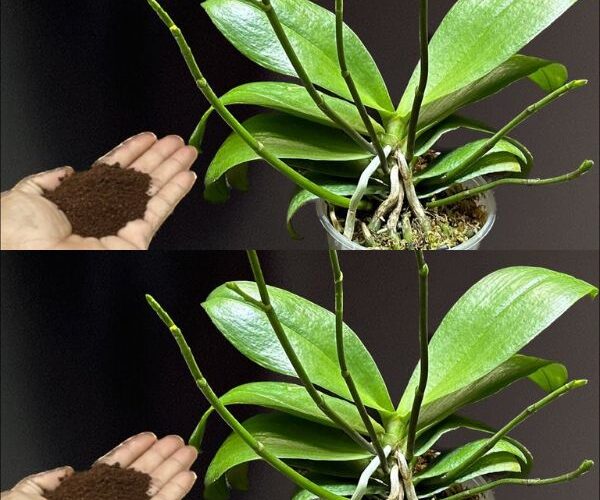

Orchids are among the most popular flowers in the world, due to their wide variety of shapes and colors, capable of giving a touch of elegance to interior spaces. Few people know that orchids can also be grown in pots : we explain how below.
To grow orchids in pots, you need to start “thinking like them.” The golden rule for having healthy, flowering orchids is to faithfully reproduce their natural conditions. In nature, orchids are epiphytic plants, which grow on top of other objects such as tree bark or stones.
The orchids that we usually prefer to have at home are hybrids of phalaenopsis (the so-called moth orchids) or dendrobium.
Optimal conditions for orchid cultivation.
Orchids thrive in low light, but not in direct afternoon sunlight. They need a lot of moisture and airflow around the roots.
These plants need dry periods, alternating with abundant watering. Orchids grow best at temperatures above 10°C but below 30°C.
The closer you get to these optimal conditions, the more likely your orchid is to grow healthy and bloom profusely.
Most of the orchids we buy in stores come packaged in cheap plastic pots, with the roots soaked in moss. Obviously, this condition does not respect two of the main rules for healthy growth.
The first is that there is no airflow around the roots. The second is a consequence of the first: the roots will never dry out completely. Because of this, the plant cannot breathe and will almost certainly rot.
Orchid roots are organs that need to absorb water quickly and breathe. They do not extract nutrients from the soil.
Transplanting Orchids Successfully
The first thing we do when we bring an orchid home from the store is to enjoy its flowering. Never transplant an orchid with flowers.
Once flowering is complete, cut off the tip of the dead flower with sterile scissors and transplant your orchid.
Orchids should be placed in special pots, using a special orchid soil. Orchid pots have large drainage holes to let water flow.
Orchid potting soil is usually made of various coarse-textured ingredients, such as pine bark, charcoal, and even Styrofoam. To transplant the orchid, follow these steps:
- Remove the orchid from the plastic bag and remove as much moss as possible, being careful not to damage the plant. Healthy roots should be white and firm, with a small green growing tip.
- Trim blackened, rotten, or wilted roots.
- Place the plant in the pot and fill it with potting soil. The plant should be fixed to the ground, but not anchored. Over time, new roots will grow through the potting soil and stick to the pot.
- Place your orchid plant near an east-facing window with a few hours of sunlight in the morning.
- To give the plant the necessary moisture and collect excess water, place the plant in a large, deep dish filled with gravel.
Tips for caring for a transplanted orchid
During the summer, water abundantly once a week. Make sure the roots are soaked in water and the saucer is full.
During the growing season, feed the plant once a week with a suitable liquid or powdered fertilizer.
Keep the plant warm during the winter and only water it once a month. Sprinkle some water occasionally to ensure the plant is hydrated. Do not fertilize.