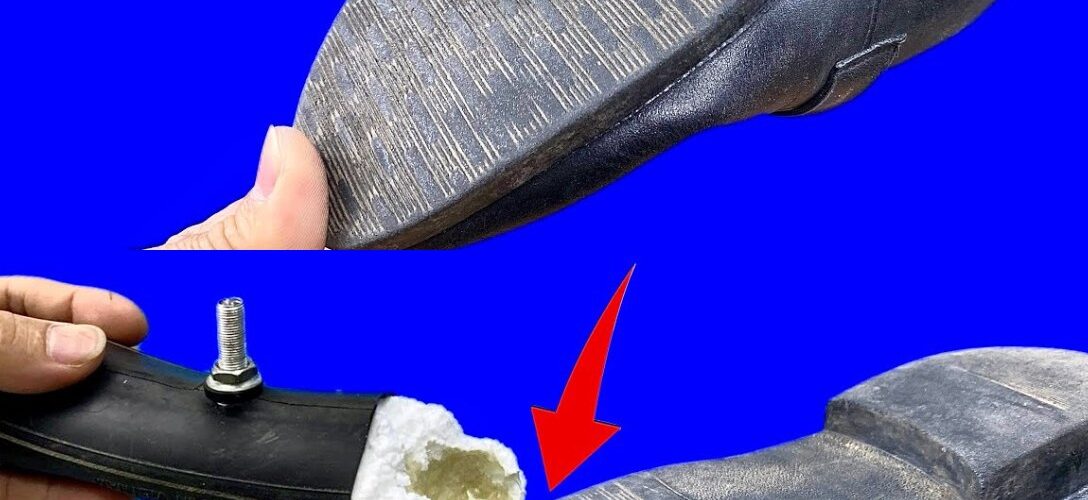
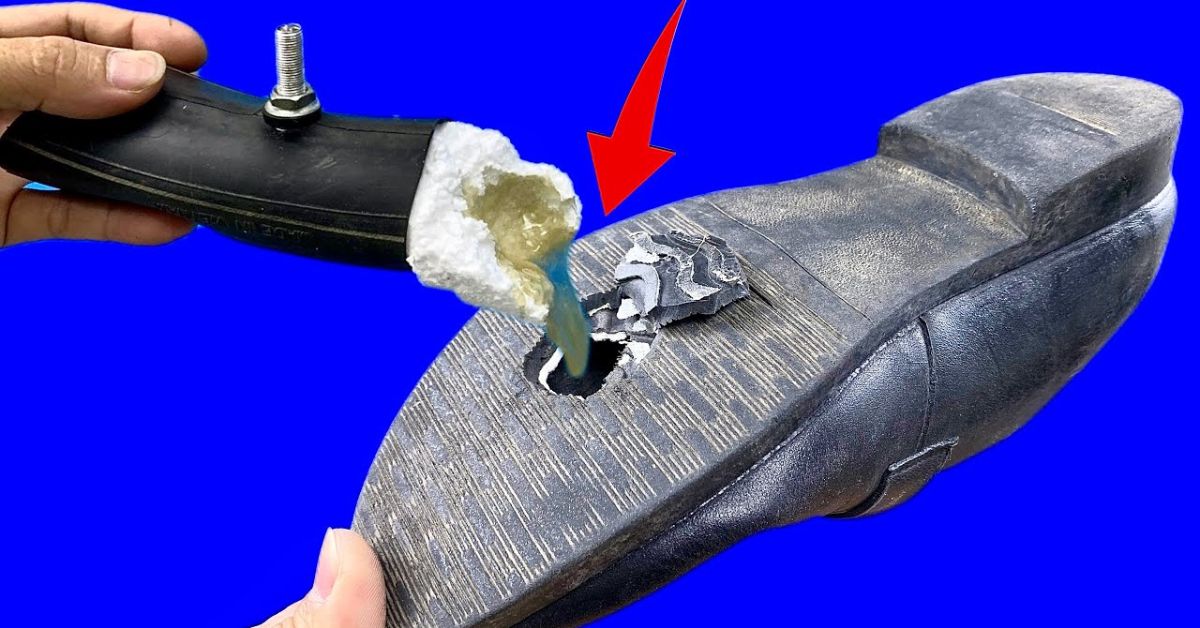
Over time, shoes inevitably suffer wear and tear, and holes are one of the most common problems. Instead of throwing them away, you can repair them using a surprising material: polystyrene. This method, shared by a veteran shoemaker, is effective and inexpensive.
You can also view the procedure through the following video of Inventor J’s camera:
Materials Needed
- Polystyrene (small pieces to fill gaps)
- Acetone (to liquefy polystyrene and rubber)
- Sandpaper (to smooth surfaces)
- Strong adhesive (to ensure repairs)
- Iron (for shaping and creating friction grooves)
- Water polish (for finishing touches)
Step-by-Step Repair Process
- Prepare the Polystyrene Mixture
- Place small pieces of polystyrene in a container.
- Pour acetone over them and let it sit for 12 hours until it dissolves into a thick paste.
- Preparing the Shoe Surface
- Clean the damaged area thoroughly.
- Use sandpaper to roughen the surface and improve adhesion.
- Apply the Mixture
- Fill the hole or damaged section with the polystyrene-acetone mixture.
- Spreads evenly to ensure a smooth application.
- Allow for Proper Drying Time
- Leave the shoe unmoved for several hours until the repair hardens.
- Improve Durability
- Use an iron to press and create grooves in the sole to improve traction.
- This helps improve grip and prevents further wear.
- Finishing Touches
- Apply water polish for a professional finish.
- Allow to dry completely before use.
Additional Tips for a Lasting Repair:
- Use several thin layers of the mixture instead of a single thick one to improve durability.
- Reinforce the repaired area with additional adhesive or a protective coating.
- Store shoes in a dry place to prevent future deterioration.
- Check the sole periodically and make touch-ups if necessary.
By following these steps, you can extend the life of your favorite shoes while saving money and reducing waste. Try this method and restore your footwear effectively!